

Learn by doing
Walkthroughs
Short, step-by-step setup guides. Each one ends with a working result and links its official sources.
Learn by doing
Short, step-by-step setup guides. Each one ends with a working result and links its official sources.
Install OpenAI’s AI assistant on your computer in two steps, then try a few things it can do.
You’ll need a Mac, Windows, or Linux computer and an internet connection. A Mac needs macOS 14 or later, and the Linux app is still an early preview version. Use your ChatGPT account, or create one when you sign in.
See the two setup stepsOpen the official download page and choose the version for your computer. Open it and sign in. That’s the whole setup.
Go to ChatGPT downloadsAlready installed? Explore the features below.
Search results can include ads and copies of the app on other sites. OpenAI’s own page has the current app for your computer.
Open the ChatGPT download page. Under Download ChatGPT for desktop, choose Download for macOS or Download for Windows. On Linux, follow OpenAI’s Linux setup guide.
Check: On a Mac, the installer appears in your Downloads folder. On Windows, the Microsoft Store installs the app.
Your ChatGPT account works in the app and on the website, so use the same account if you already have one.
Open the downloaded file. On a Mac, drag ChatGPT into Applications; on Windows, follow the Microsoft Store prompts. Then open ChatGPT from Applications on Mac or the Start menu on Windows. On Linux, install and open it as the setup guide describes. If your Mac also lists ChatGPT Classic, that is the older app; open ChatGPT instead. Sign in, or follow the option to create an account.
Check: The ChatGPT app is open and ready for a new conversation.


Installation complete
ChatGPT is open and signed in, so installation is done. Your new assistant is ready when you are.
Your optional feature tour
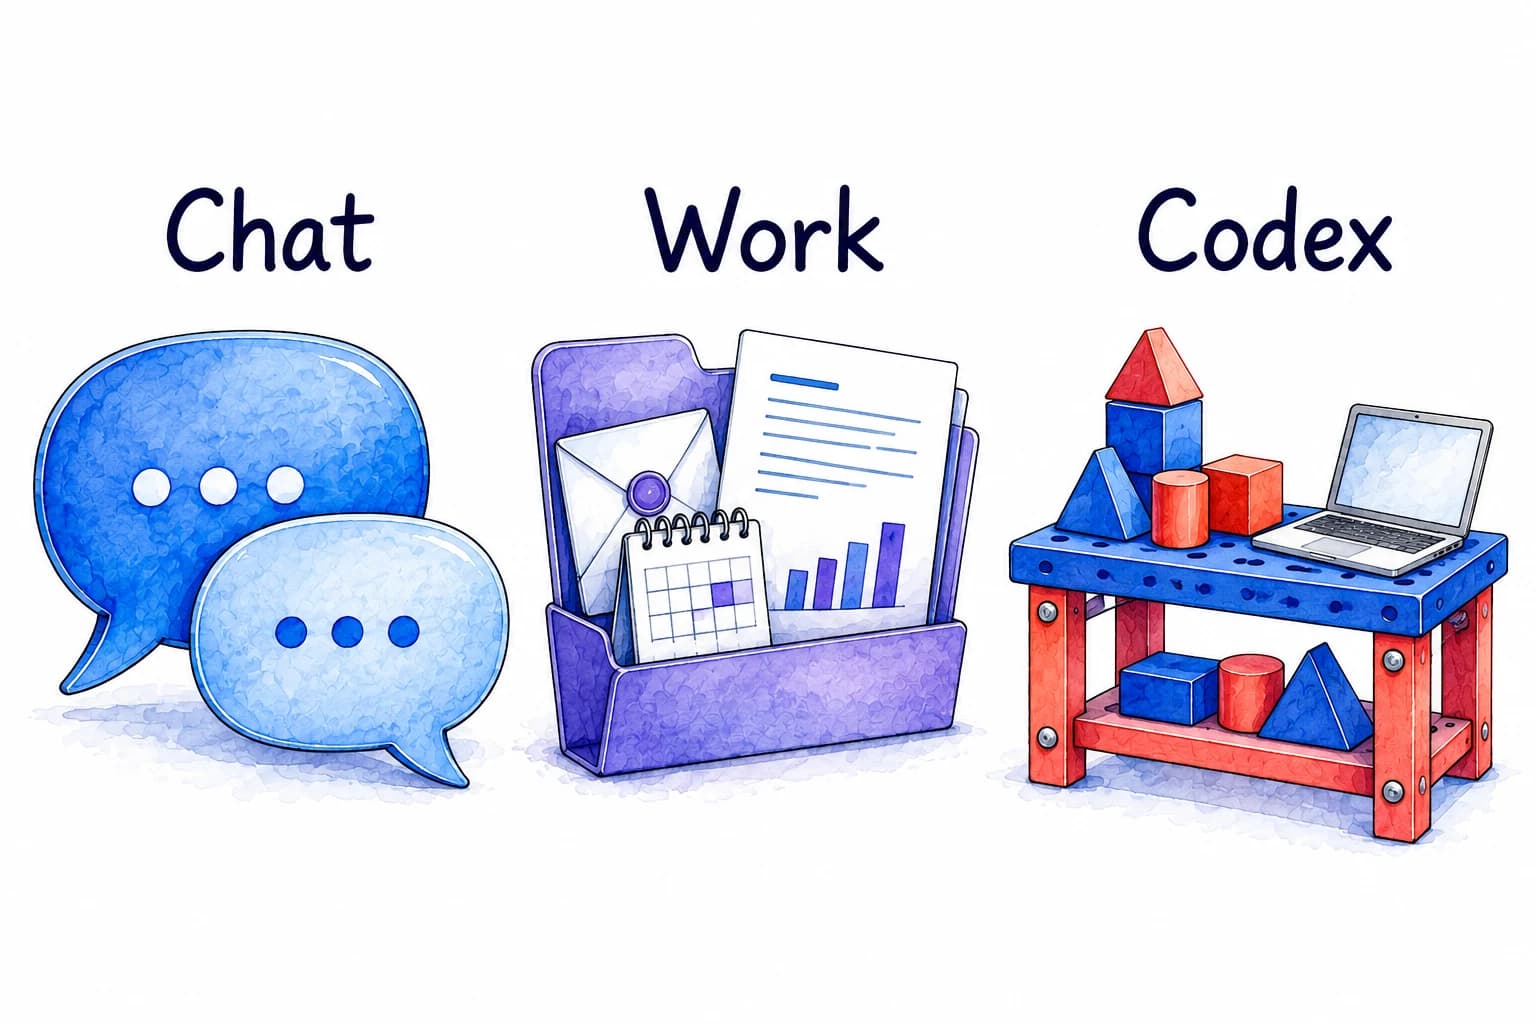
Whether you want to ask a question, get a task done, or build something, ChatGPT has a mode for it. Chat is for questions and conversation, much like ChatGPT on the web. Work helps with everyday tasks, such as preparing for a meeting or working with your email and calendar. Codex is for building apps and websites by describing what you want. Switch between Chat and Work with the toggle above the message box; open Codex from the menu at the top left.
In the desktop app, Work and Codex can work with folders you choose on your computer. That lets your assistant use your documents without you attaching every file one at a time.
Start by connecting an app you use, since several later features draw on your email, calendar, or files. Add more when you feel comfortable, then help your assistant get to know you. Return to any of these features whenever you’re ready.
Much of the information you need for work is in your email, calendar, and documents. ChatGPT reaches those through plugins, add-ons that link it to a service you already use; you find them under Plugins in the sidebar. With Gmail connected, ChatGPT can find an email, summarize a conversation, or draft a reply for you to review.
Start with one account you’re comfortable sharing, then add your calendar and files gradually. Plugins work in both Chat and Work; Work is useful when a task draws on several sources at once.
Open Plugins in the sidebar, search for the app, open it, and select the plus button to install it. Sign in to that account when asked. If you get stuck, copy a request below, paste it into a conversation, and follow your assistant’s guidance:
Find messages and draft replies.
You approved the connection yourself, and the plugin is installed. Start with a small request, such as finding one email or checking your next appointment.
A sent email can’t be taken back, so take email one step at a time. Ask it to read a few emails you’ve sent to learn your writing style, then draft a reply for you to review. Tell it: “Show me drafts. Don’t send anything unless I approve it.”


ChatGPT helps more when it knows your work, your goals, and preferences such as how much detail you want. Personalization settings hold those details, so you don’t repeat them in every conversation.
If you’ve installed a plugin, your assistant can use selected emails, appointments, or documents to ask more useful questions. An interview fills in what those sources leave out.
Ask your assistant to interview you:
Read the draft and change anything that doesn’t sound like you. The approved text belongs in Settings > Personalization, under Custom instructions. Codex keeps separate personal instructions in its own settings, so this text doesn’t carry over to Codex.


Repeating a project’s details in every new conversation gets tiresome. Memory carries details from past conversations into later ones, such as a project you mentioned last week. Personalization holds only what you tell ChatGPT on purpose; memory can save more details as you talk. It may already be enabled, so this is a good time to review what it saves.
Ask it to explain your current settings:
Review a few saved details and correct or delete anything inaccurate or outdated. The memory controls are in Settings > Personalization.
ChatGPT and Codex have separate memory controls, so changes here don’t affect Codex.
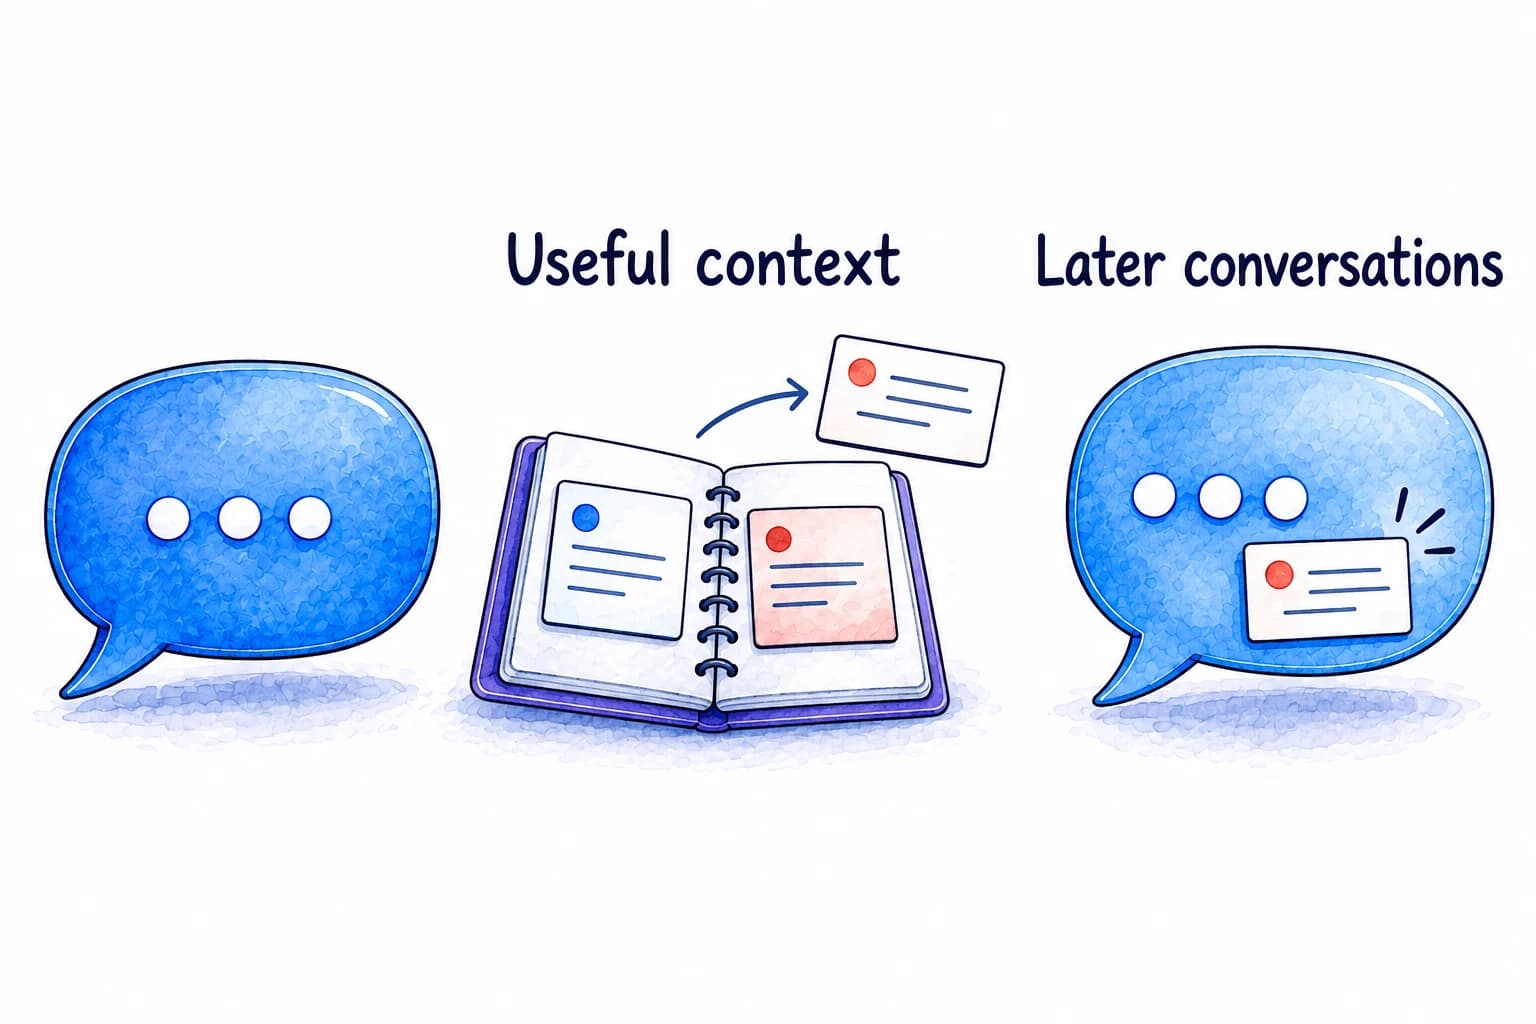
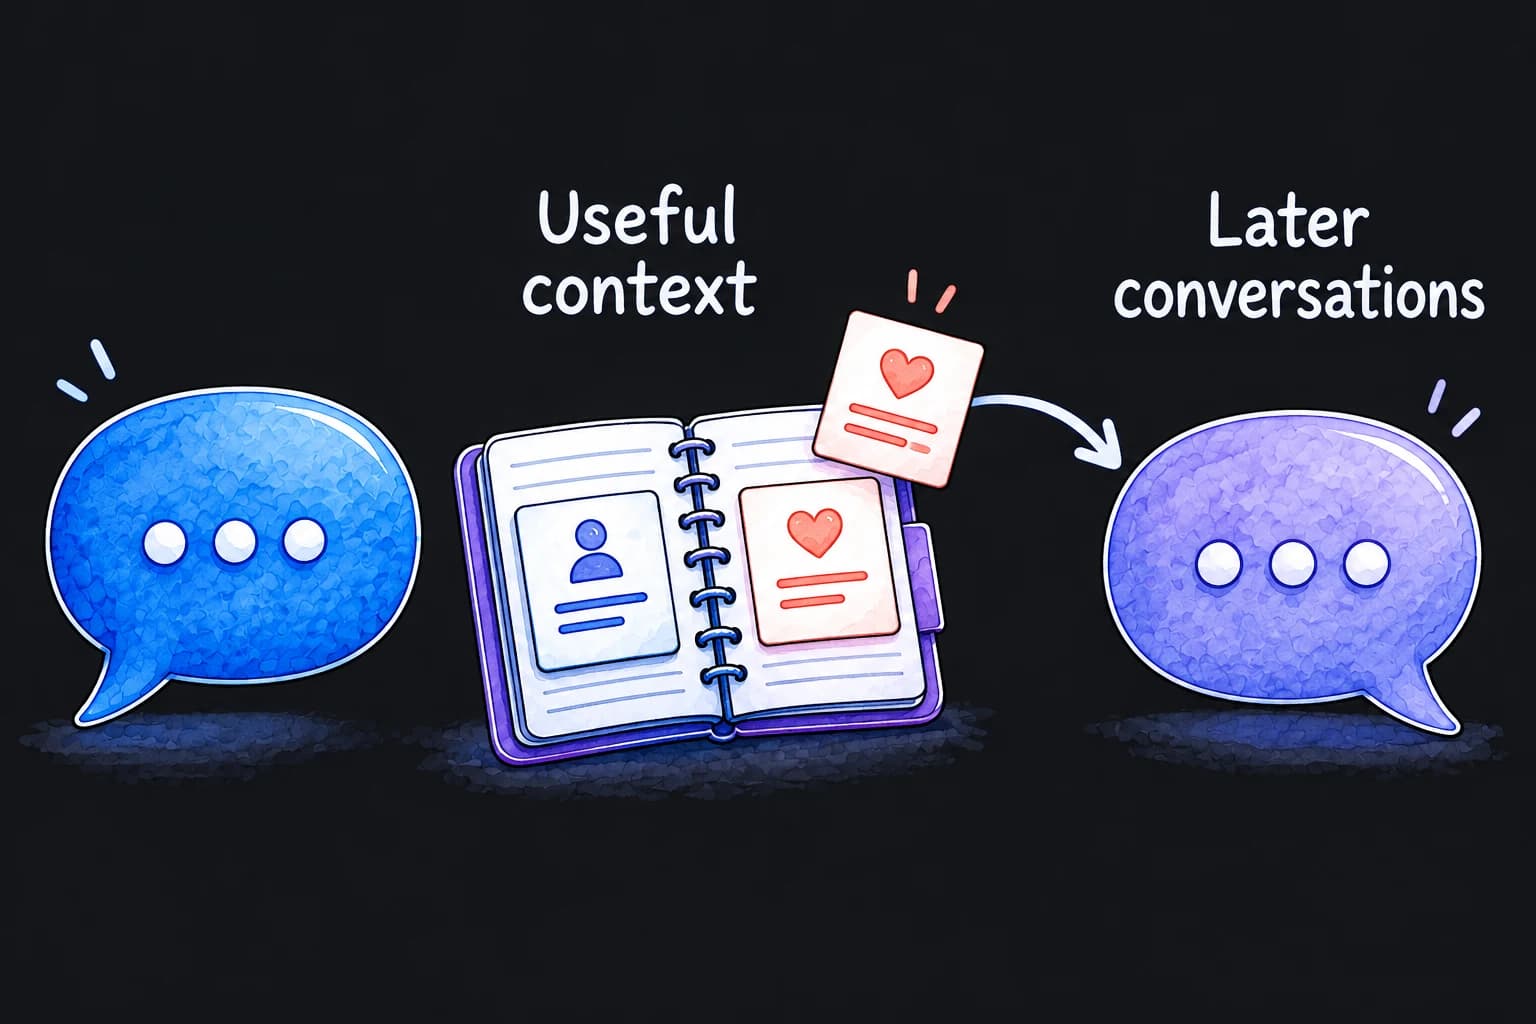
Some preparation is easier out loud, such as rehearsing what you’ll say in a meeting. Voice lets you have a spoken conversation with ChatGPT, and you can interrupt it mid-answer to ask a follow-up question. With your calendar and email connected, ChatGPT can walk you through an upcoming meeting and discuss what you want to say.
After connecting your calendar and email, choose Start new voice chat and try saying:
Check that it found the right meeting. Tell it what you want to accomplish, and ask it to help you rehearse the conversation.
Allow microphone access when asked, and use Stop voice chat when you’re done. In an existing conversation, the button says Start voice chat. Voice availability depends on your plan and workplace settings.


You may want a tool no app offers, such as one that sorts your inbox your way. Codex can help build it from a plain description; you don’t need to be a software developer to begin. Describe the result you want, answer its questions, and try what it makes.
Open the menu at the top left, choose Codex, then New chat, and start with:
Try the app it makes, then ask for a change in your own words.
If it asks for a folder, choose an empty one for this app so its files stay apart from your other work. Ask it to explain any setup or inbox access before you continue.


When you ask for help, you often leave out details, such as the report you worked on yesterday. Computer History gives ChatGPT context from activity outside your chats. It needs a Mac, a Pro, Business, or Enterprise plan (Business and Enterprise need an admin to allow it), and memory turned on. It summarizes activity from the apps and websites you select, so ChatGPT can understand work you haven’t thought to explain.
I recommend choosing exactly what it can see. Pick Include only these apps and Include only these websites, then add the work sources you want it to see. Everything else stays out.
Computer History stays off until you turn it on in Settings > Integrations > Computer history. When you’re ready to set it up, ask:
Before Computer History starts collecting activity, the included apps and websites list only the work sources you chose.
How I use it: I use a separate browser for work and let Computer History see my activity there. That helps it pick up work context I might forget to mention. If you try this, keep personal browsing in a different browser app. Pause collection during conversations with other people unless they have expressly agreed, because what they say can end up in your history. Activity is processed on OpenAI’s servers, and the resulting memories stay on your Mac. Check availability and privacy details.
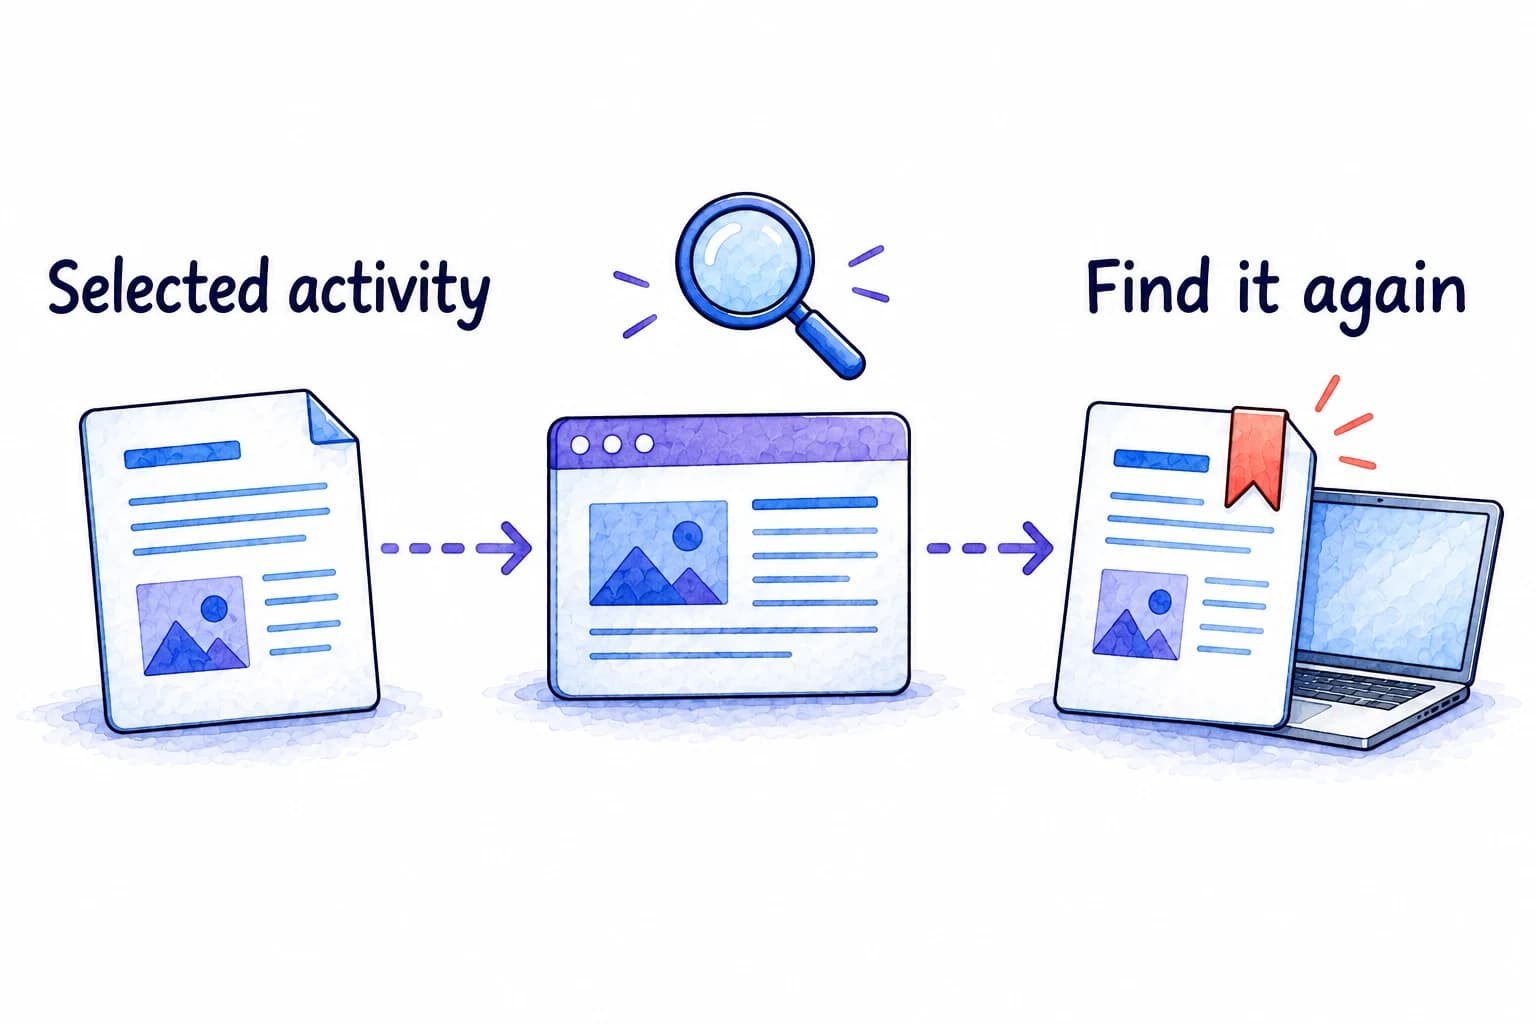
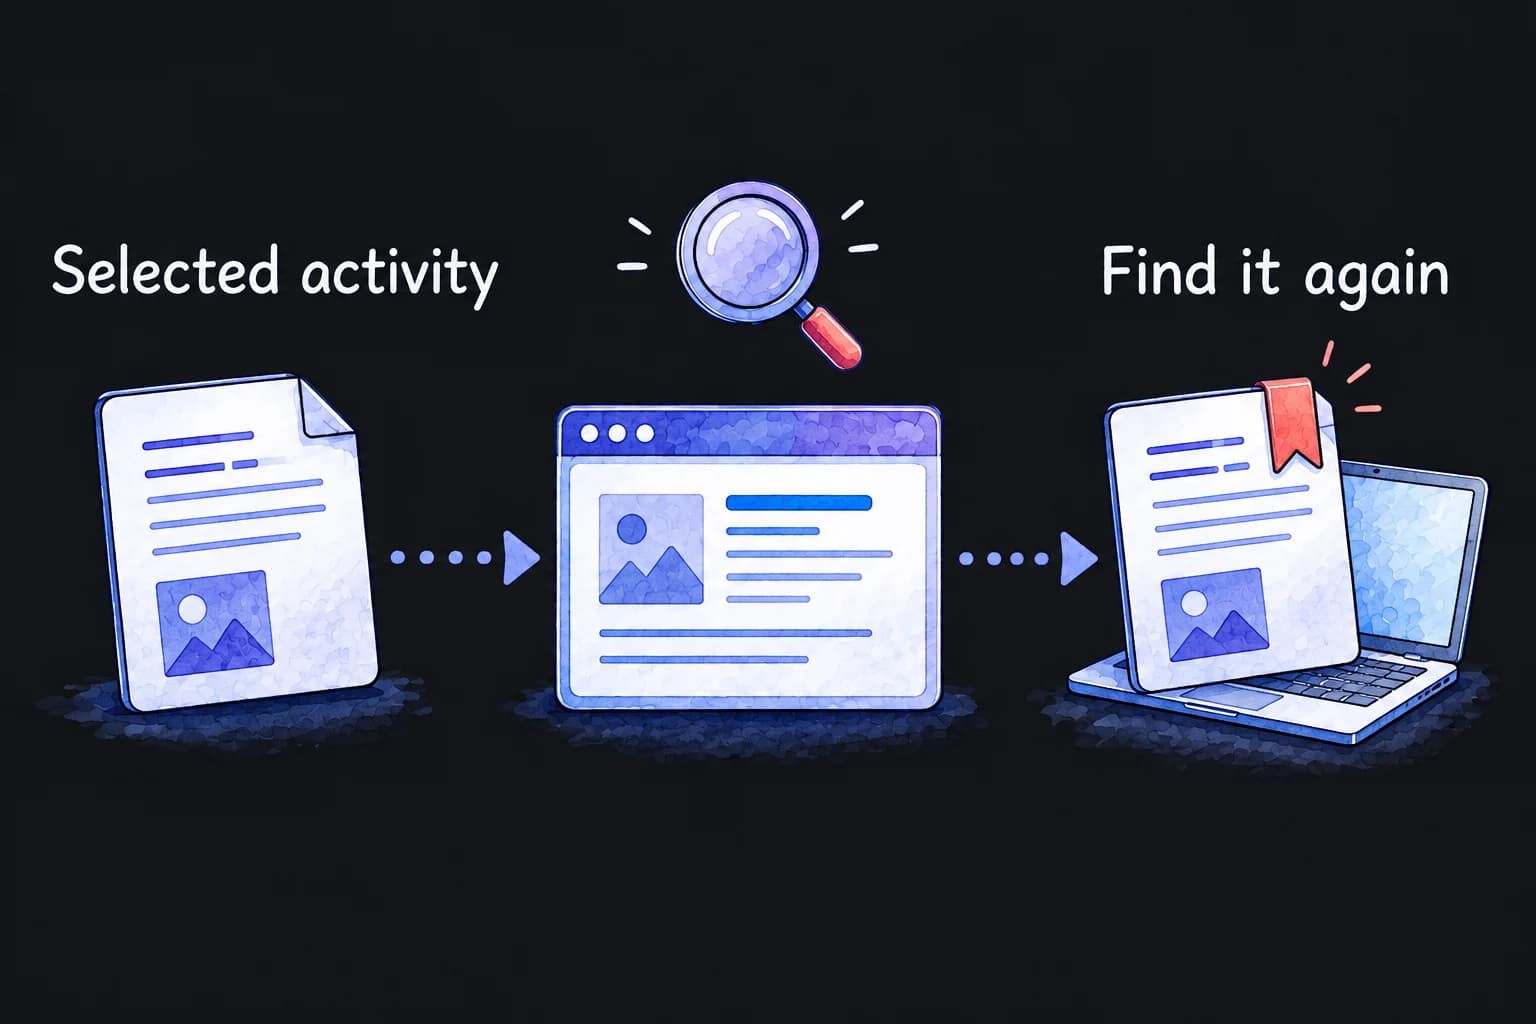
Check that you chose the download for your computer on the official page, and that a Mac has macOS 14 or later. If you see an error, open ChatGPT on the web and share the exact message for help. On a work computer, follow your organization’s installation rules.
Search for the service under Plugins in the sidebar. If it isn’t listed, tell your assistant which service and account type you use and ask what’s available. Some plugins depend on your plan or need workplace approval. Meanwhile, try another app or attach a file.
Tell it which account to search and give a useful clue, such as the sender, document title, or approximate date. Ask it to check whether the plugin is connected and explain what it searched. If it still cannot access the item, try sharing that item directly.
The dates below show when each official source was checked against the steps on this page.